Vinyl Shake Siding Installation 101

Max Shafer
Max Shafer, a distinguished BPA Advisor specializing in Roofing & Exterior Finishes, is passionate about sharing his extensive knowledge and expertise. Max's impactful work as a writer is prominently featured throughout Building Product Advisor. With a specific focus on roofing and exterior finishes, Max contributes valuable insights that shape discussions on cutting-edge construction practices and materials in these crucial areas.
With none of the issues associated with wood, vinyl cedar shake siding resembles the quality and beauty of cedar shakes and shingles. Especially if you select a more high-end product like Foundry vinyl cedar shake, which is cast from real cedar boards, it is essentially impossible to tell it apart from the real thing.
Vinyl cedar shake siding has been built with residential applications in mind and ensures a quick and simple installation. Following these tips will result in a lovely finished exterior that offers the home the strongest protection possible.
Tools Needed
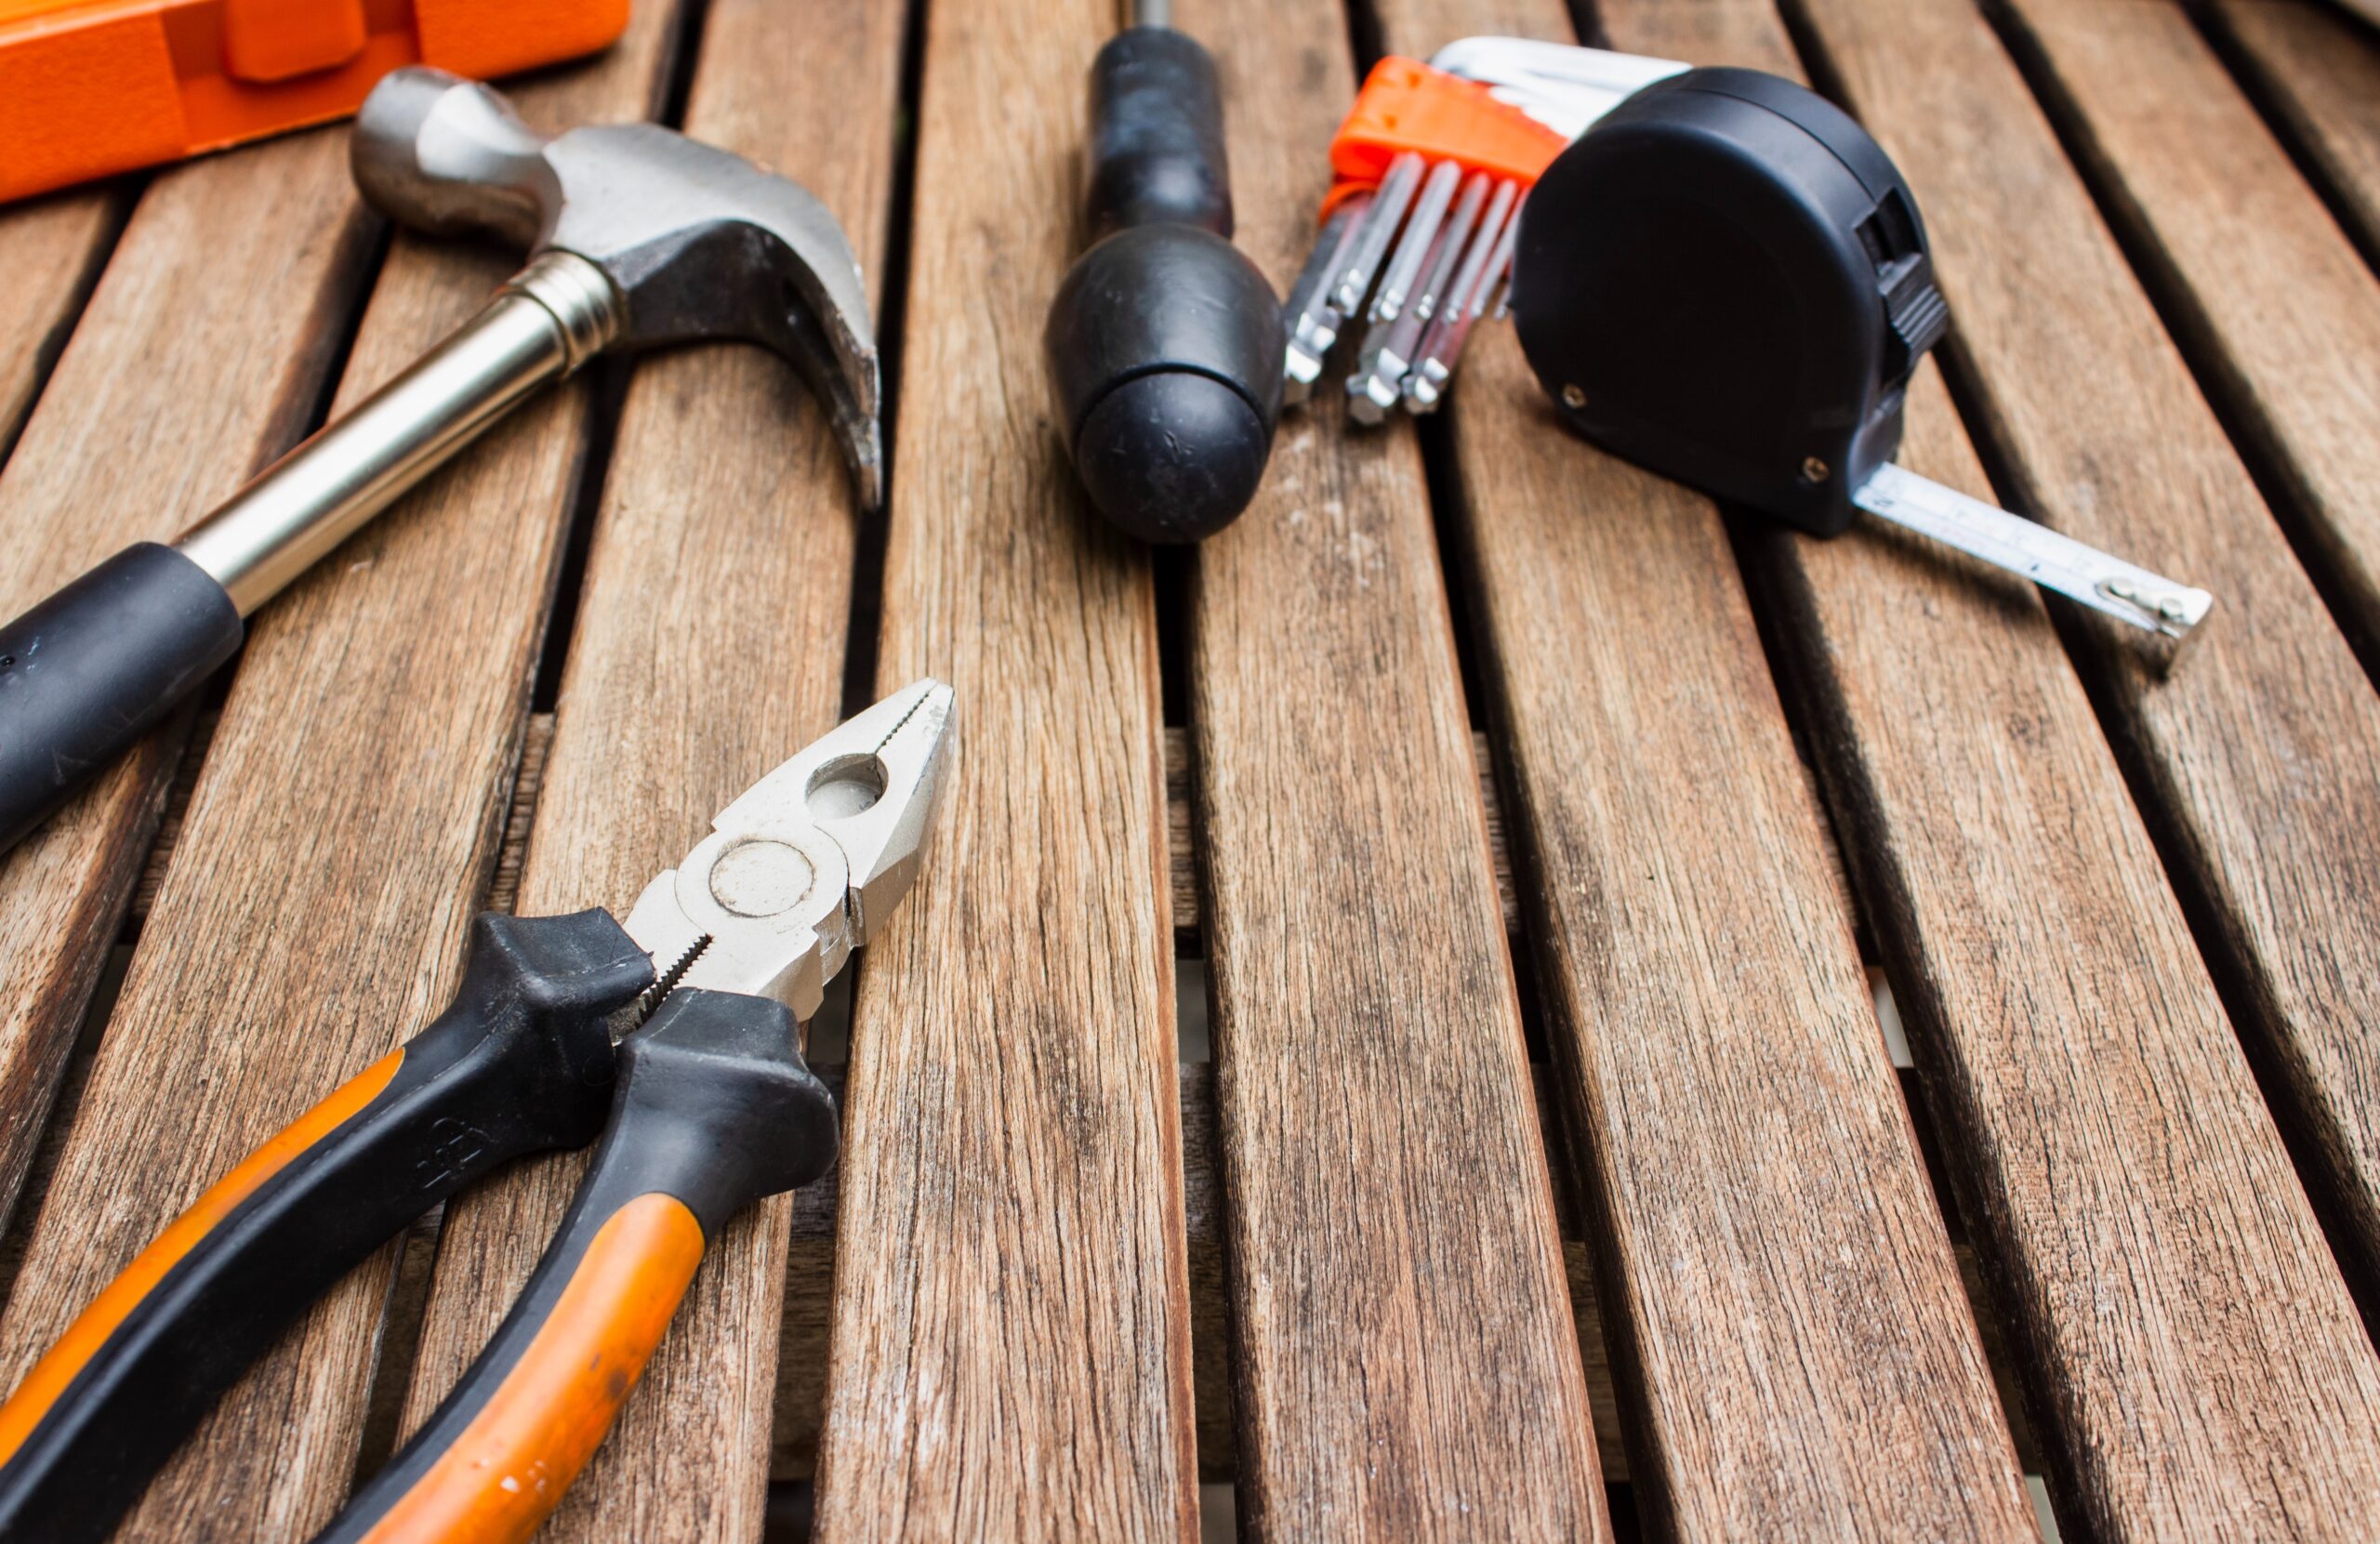
You will need a few basic tools to install your vinyl cedar shake siding:
- Tape measure
- Safety glasses
- Utility knife
- Snips
- Hammer
- Punches (nail hole slot, snap lock, and trim nail)
- Caulking gun
If you have old siding that you are removing before installation of the shake, you will also need a siding removal tool.
Prep Work
For successful siding installation, a flat, plumb wall surface is required. Ensure the framing and sheathing are sound and check the walls' structural integrity. It is recommended that your sheathing is 7/16 inch OSB or 15/32 inch plywood at a minimum.
The house should be covered with a weather-resistant covering before installation, and you need to use flashing around the windows, doors, and any other projections that will come through the siding. For information on specific regulations in your location, consult the local building codes.
Work should be completed in a careful and professional manner. For any underlayment or other uses, make sure to adhere to the installation instructions provided by the manufacturer. Perform the work only when the current weather and outlook permit, as with any siding project.
The Basics
Vinyl cedar shake siding is attached to the home's exterior wall along a nailing hem. The nails should be long enough to penetrate the substrate by at least 3/4 of an inch. You will want to nail your panels no less than every 10 inches.
You will want to leave a 1/9-inch gap at the nailing hem where you are overlapping the panels. In order to allow for normal expansion and contraction with humidity and temperature changes, you need to leave at least 1/4 inch of clearance at openings and stops. You also don't want to drive the nails too tightly against the hem either.
You will align each new panel with the previous course pushing up from the bottom to lock it with the piece below. It is normal for the panel to drop slightly when you release it. Be sure you are not putting tension on the panels or compressing them when fastening them to the wall.
Your nails should be straight and level so as to not restrict the panel, and face nailing isn't recommended because it can lead to ripples and buckles.
It is best to use the snips to cut your panels. If you want to use a circular saw, you need to have a fine tooth blade meant for cutting vinyl.
Installing the Starter Strip
Installation starts with the starter strip, which should be level with the bottom of your home's wall. To begin, you need to find the lowest point on the wall and measure up the width of your starter strip minus 1/4 inch — this is where you will mark the chalk line. Ensure the chalk line is level across the wall and goes around the entire house or area where you want to add the shake.
The top edge of your starter strip should be installed along the chalk line.
Adding Your Shingles
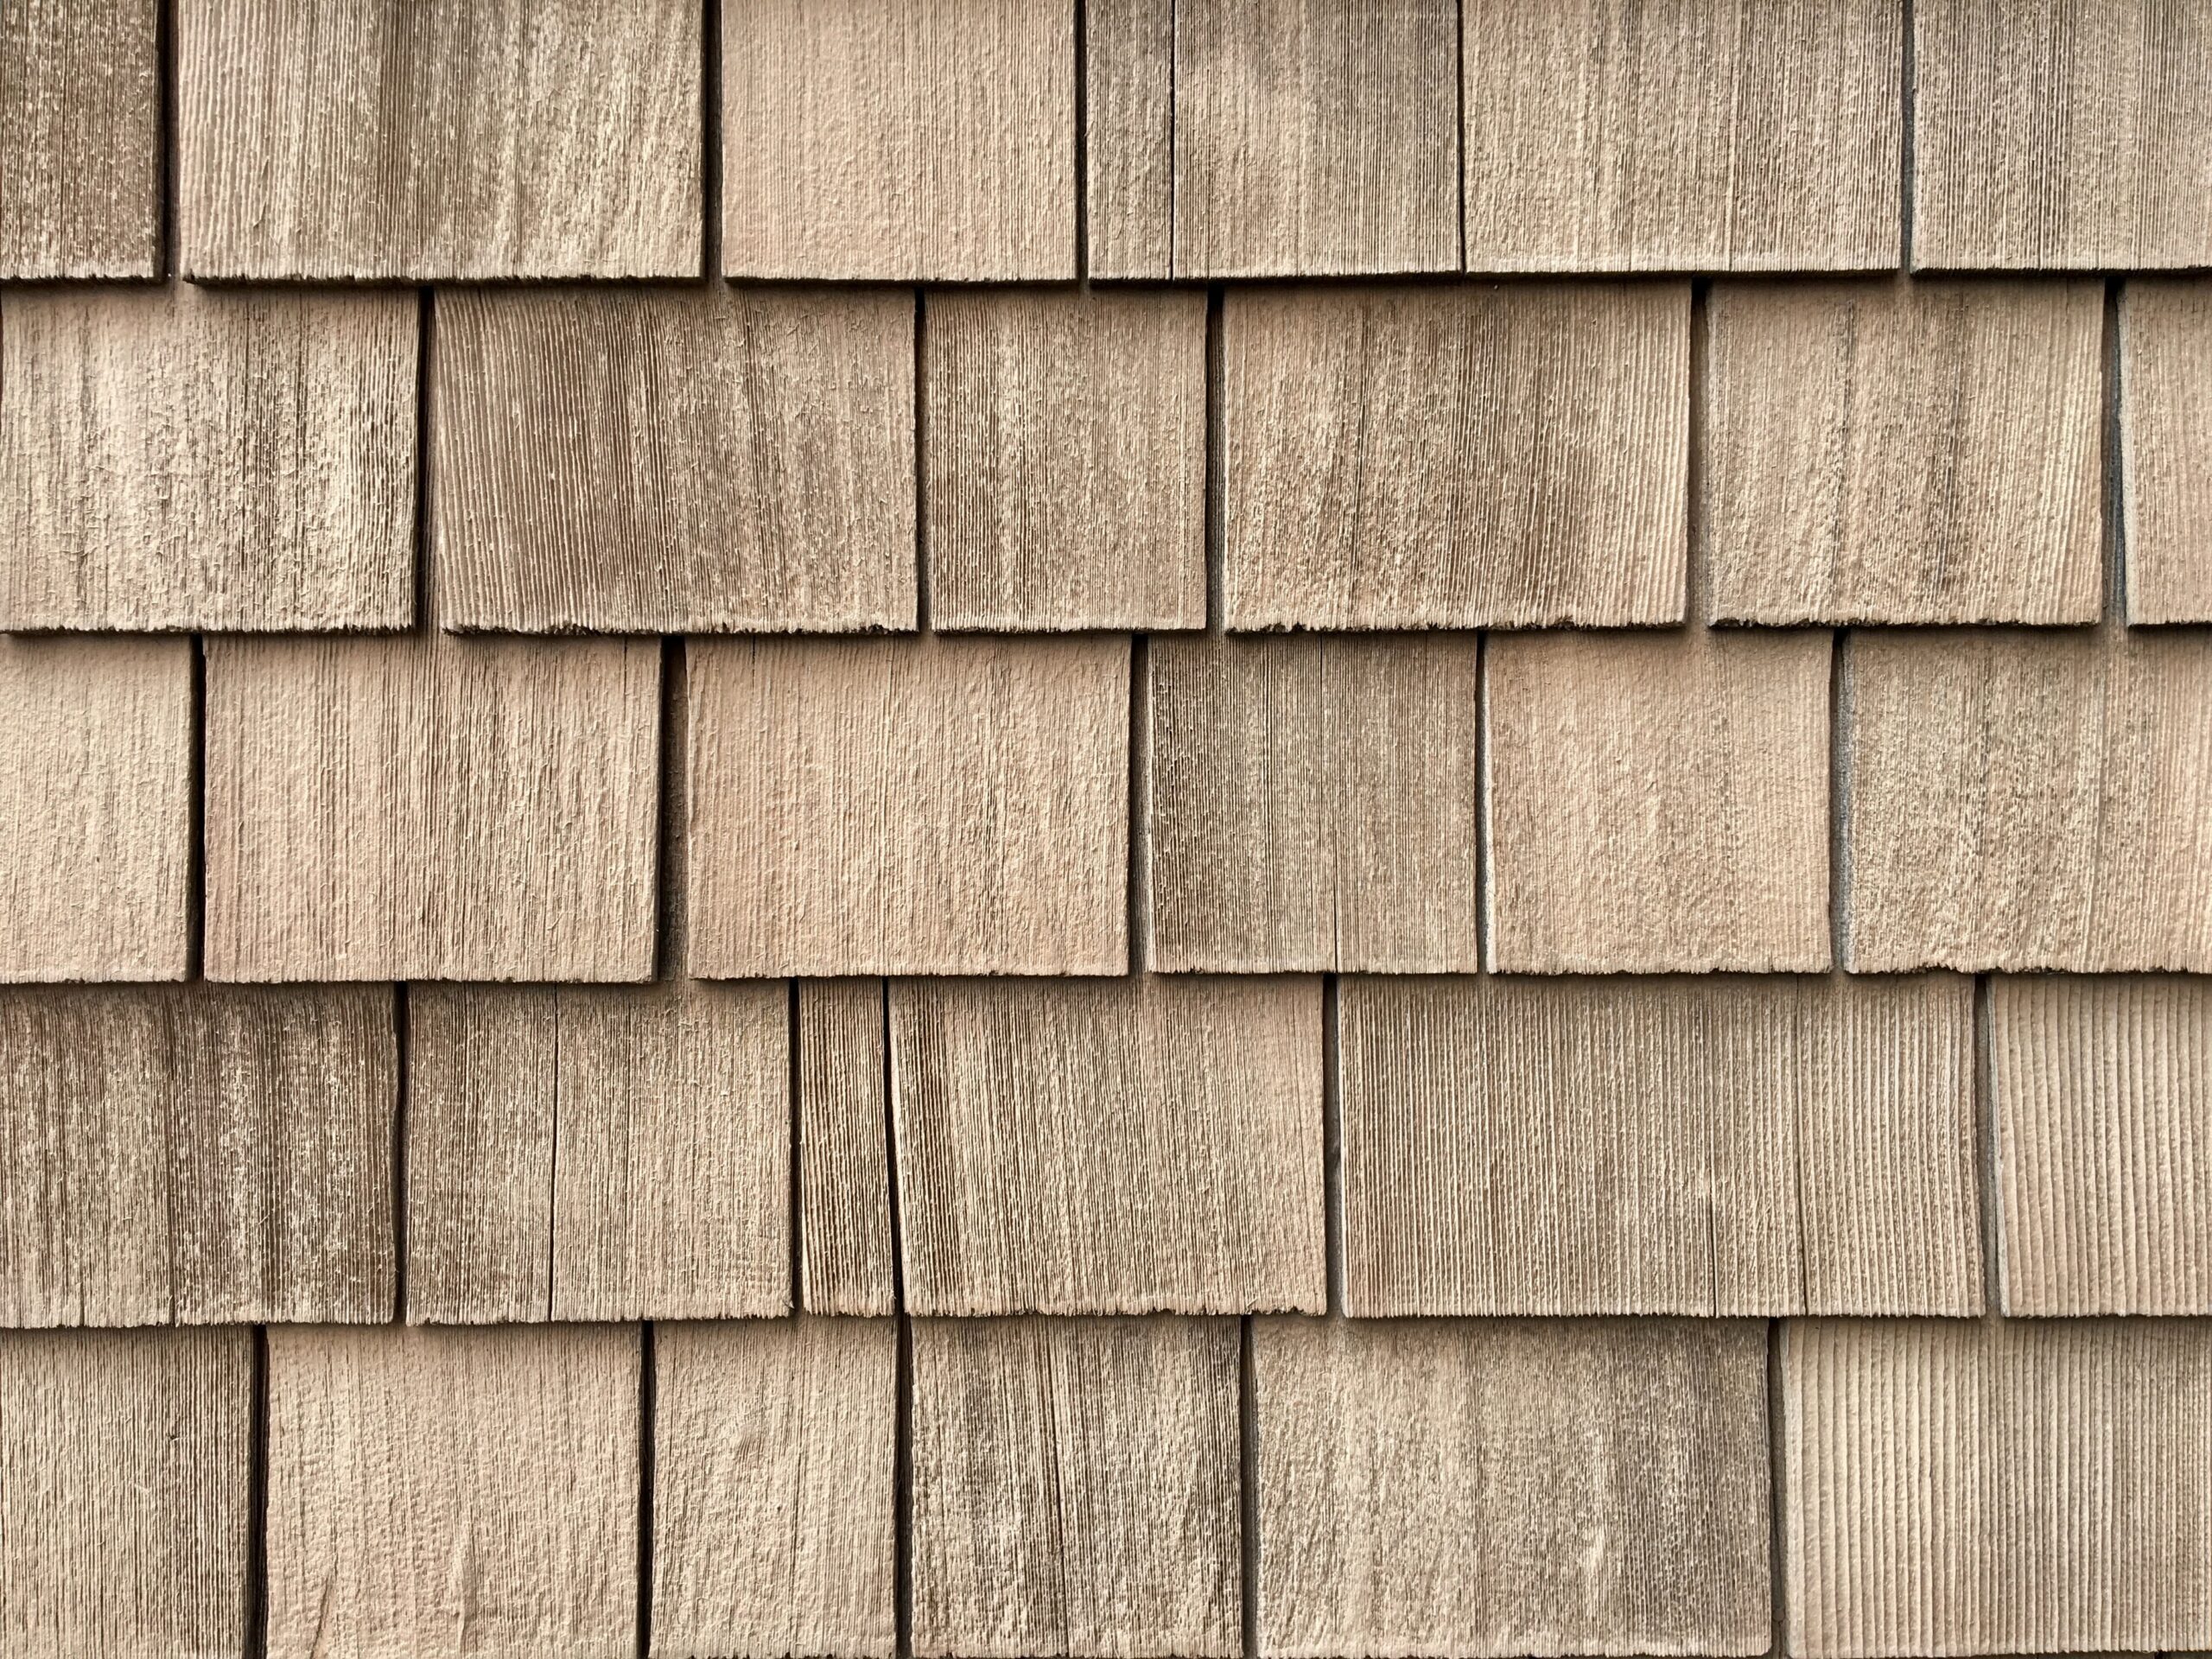
The first panel should be fitted on the lower left side of the wall and fastened firmly into the starter strip. Each nail should be in the center of a nailing slot when you fasten the panel — nails should be no more than 10 inches apart.
The panels need to be free to move since the siding expands and contracts as a result of temperature variations. Add more panels to the wall as you continue working to the right. Leave a 1/8-inch margin at the nailing hem when lapping panels. To accommodate expansion and contraction, trim the final panel at the right end of the wall, leaving a 1/4-inch gap inside the J-channel.
Pro tip: Where the siding meets the soffit or roof at an angle, around corners, and around windows and doors, J-channels should be used. Done correctly, J-channels give your siding installation a professional appearance.
Put the bottom lip of the new panel into the lock of the course before it for each succeeding course. Push upward until you feel the lock firmly engaged, push upward. Let the panel rest on the previous row by releasing the upward pressure.
The keyways between shakes should not align with the panel below for the best look.
Always begin each course on the left and trim the wall's final panel from the right side. You can reuse the chopped piece from the end of one row to cut down on waste. Start the new row on the left side using the piece that was cut.
See installation in action here!
Cost of Hiring a Professional

Not into DIY or don't think you aren't up to the challenge of vinyl cedar shake siding installation? You can always opt to have your siding installed by a professional.
It takes an estimated 65 hours to install 1,000 square feet of siding, and the hourly rates of installers can run anywhere from $30 to $75 dollars an hour in most of the country. You can expect to pay between $1.70 and $5 to have your vinyl cedar shake siding installed by professionals.
There are factors that could make the price lower or higher for you, including your location in the country. Some areas of the U.S. have higher or lower costs of living which mean hourly wages can vary greatly.
The architecture of your home can also add to the cost of the installation. Most homes have a max of 12 corners, but if you have a specialty home with more than 12, you can expect the cost of installation to go up. In addition, homes with more windows and doors than average will likely be quoted a higher rate.
Get Smarter About Building Products
Join 50,000+ subscribers and get our 3 min daily newsletter on what matters in the building materials industry.
You might like this

Solving Ventilation Challenges: Metal Deck Profiles and Back Draft Dampers as Key Solutions
When it comes to building design and construction, ventilation is a critical factor that often presents significant challenges. Proper ventilation is essential for maintaining indoor air quality, controlling temperature, and ensuring occupant comfort and safety. In this article, we will explore how metal deck profiles and back draft dampers are key solutions for addressing ventilation […]

The Ultimate Guide to Home Insulation
When it comes to creating a comfortable and energy-efficient home, insulation plays a pivotal role. Proper insulation helps regulate indoor temperatures, reduces energy consumption, and enhances overall comfort. In this comprehensive guide, we’ll explore various aspects of home insulation, including the best types of insulation for different areas of your home and key considerations for […]


The Best Hidden Deck Fasteners: Concealed Elegance and Lasting Stability
Decks, those quintessential outdoor havens, serve as extensions of our living spaces, inviting us to bask in the open air. But what if we could take this experience to the next level? Enter concealed deck fasteners, the unsung heroes that elevate your deck’s appearance and structural integrity, all while keeping their existence a secret. In […]